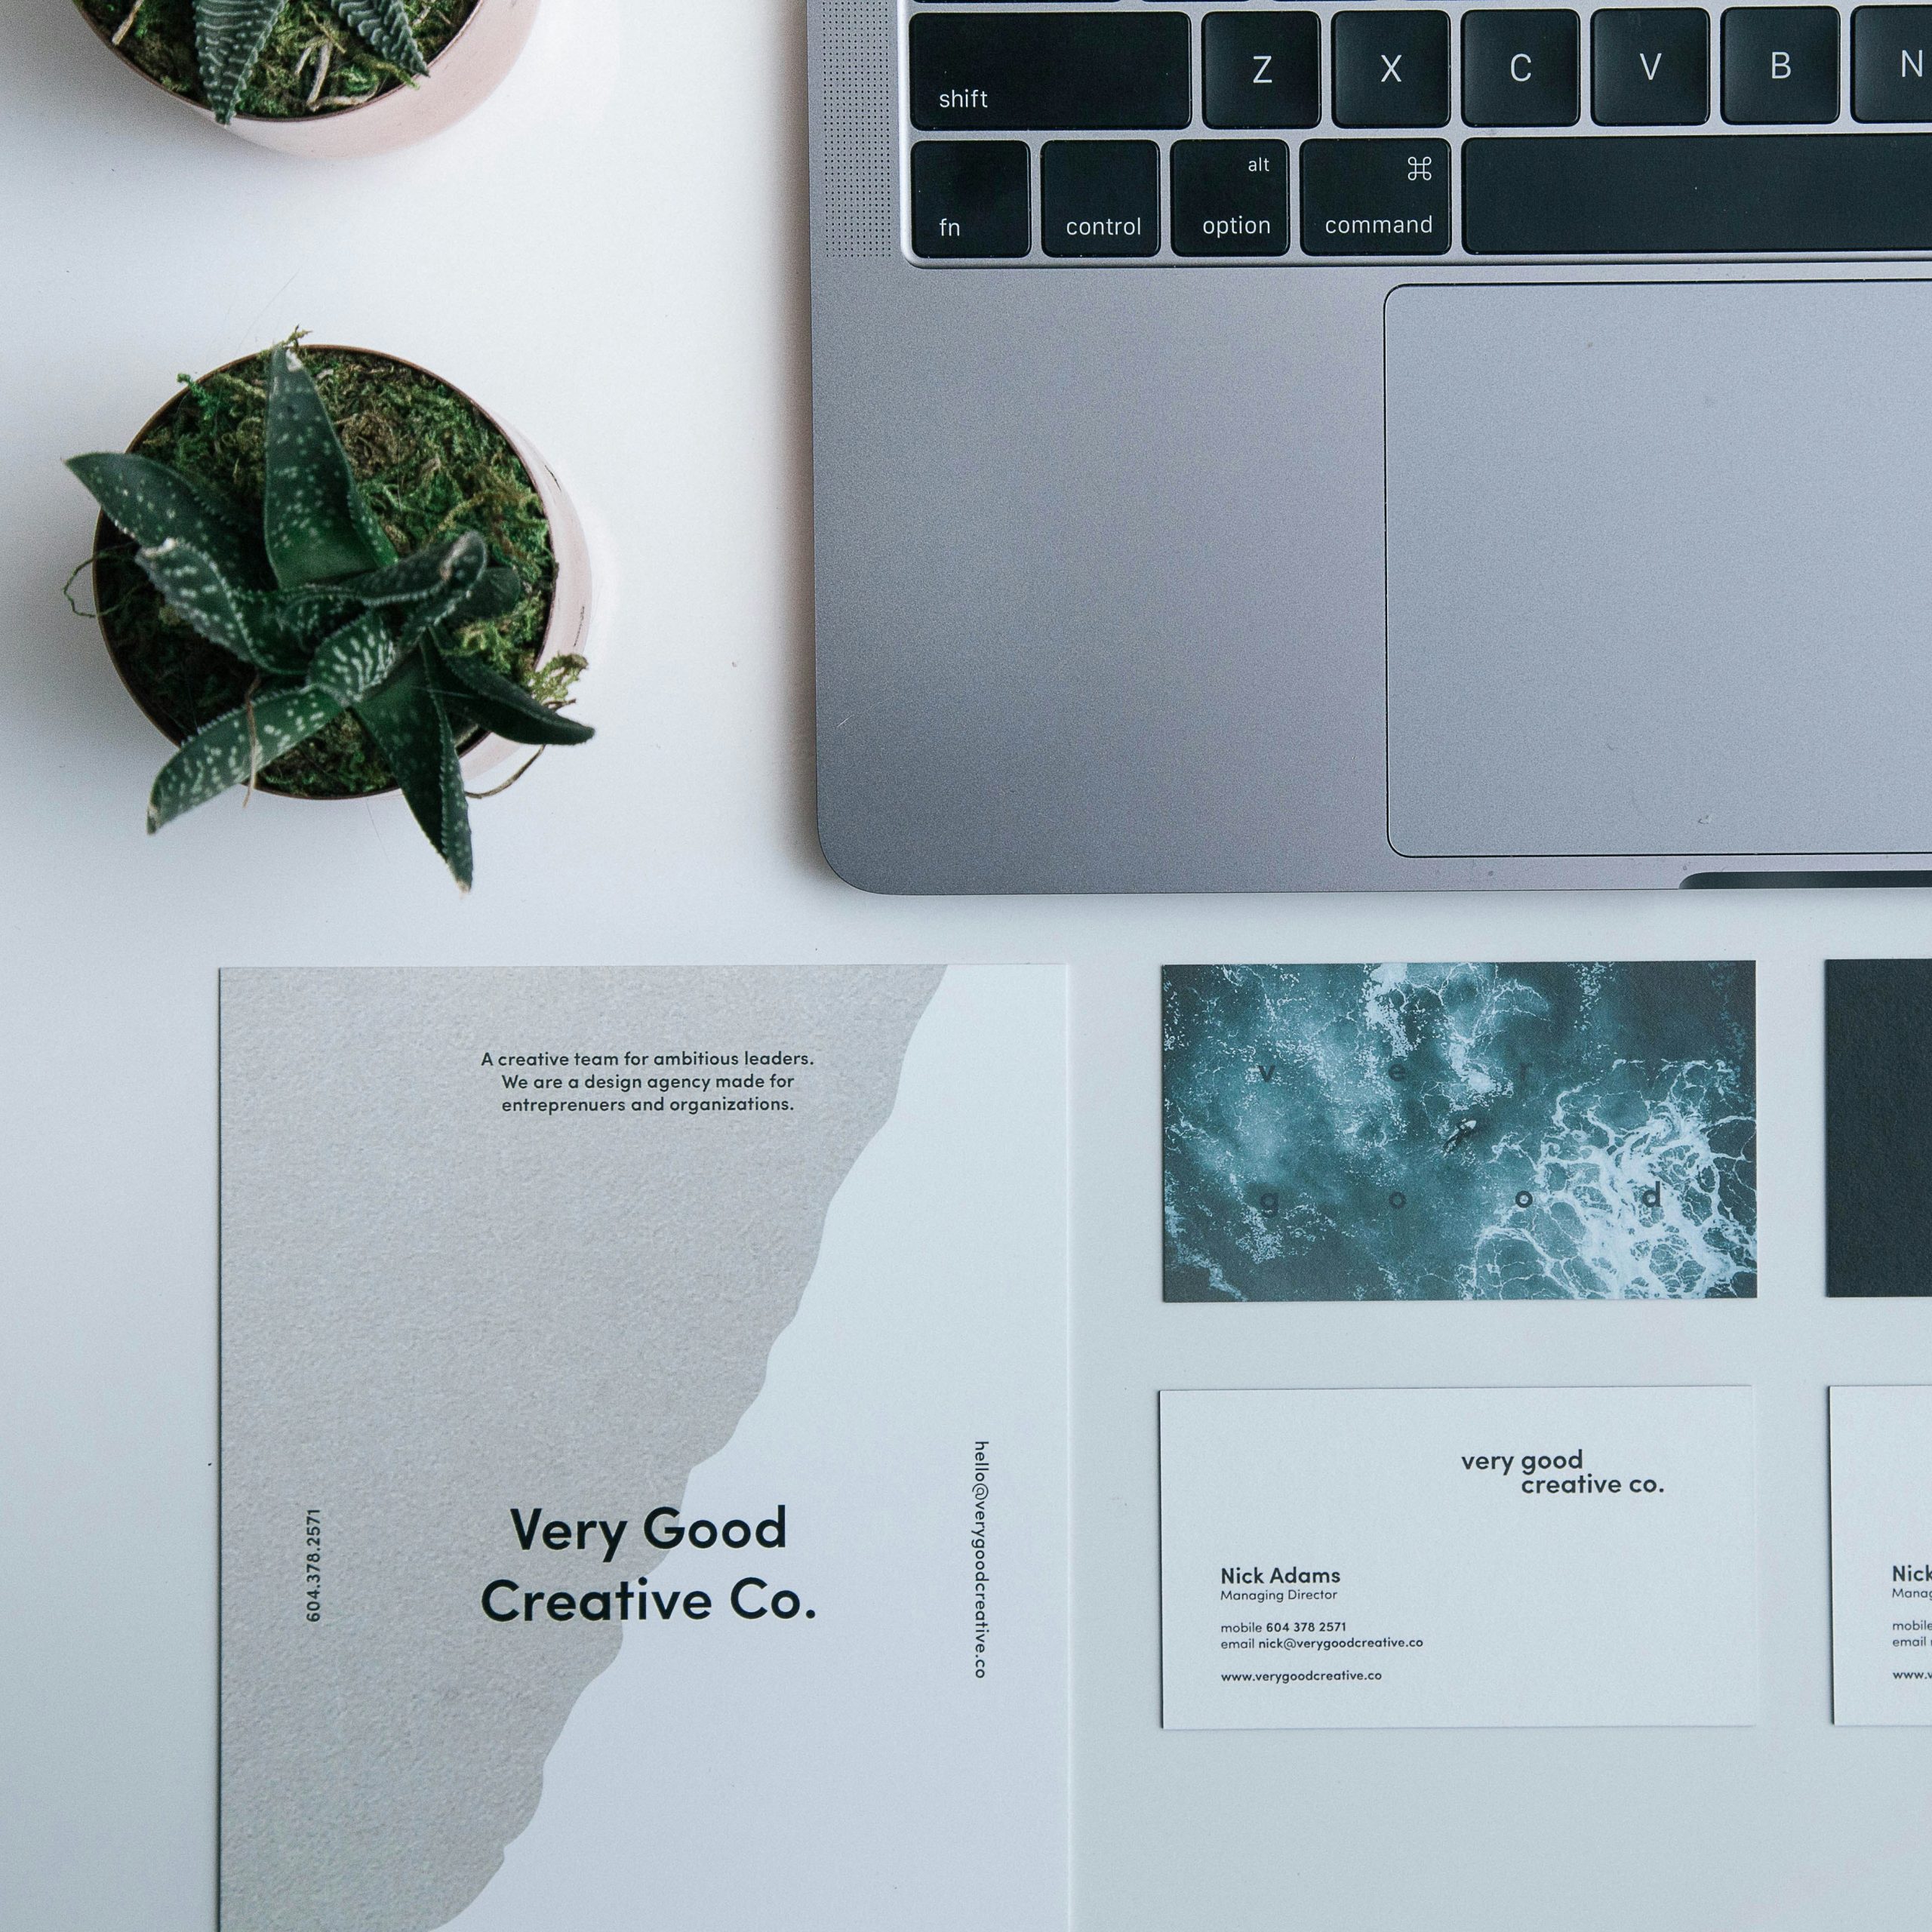
Have you ever received a business card that made a lasting impression with its vibrant colors that extended all the way to the edge of the paper? Have you ever wondered how such professional-looking cards are created and how you can achieve the same effect for your own designs? In today’s digital age, printing technology has advanced significantly, allowing for full-bleed color printing that gives your cards a sleek and modern look. If you’re ready to elevate your branding game and make a statement with your printed materials, learning how to print your card with colors all the way to the edge of the paper is an essential skill to master.
Understanding full bleed printing
When it comes to printing materials like cards, achieving a professional and polished look often involves understanding the concept of full bleed printing. This technique allows colors and design elements to extend all the way to the edge of the paper, creating a seamless and eye-catching finished product. One key aspect to keep in mind with full bleed printing is the need for extra image or design information beyond the final trim size; this overhang ensures that there are no white borders after cutting.
Furthermore, embracing full bleed printing opens up a realm of creative possibilities by eliminating constraints on your design canvas. By utilizing this technique effectively, you can create visually striking cards that leave a lasting impression on recipients. Remember that proper file setup is crucial for successful full bleed printing; ensure your designs meet specific requirements and work closely with your printer to guarantee optimal results for your project.

Choosing the right paper size
When it comes to printing your card with colors all the way to the edge of the paper, choosing the right paper size is crucial. The standard paper sizes like A4 or letter size might not allow for full bleed printing without cutting off some parts. Opting for larger sizes such as A3 or Tabloid can provide more space for bleed and trimming to achieve that seamless edge-to-edge color.
Additionally, consider the aspect ratio of your design when selecting a paper size. A different aspect ratio between your artwork and chosen paper can result in awkward cropping or white borders. It’s essential to ensure that your design fits proportionally onto the chosen paper size to maintain visual harmony and aesthetics. Ultimately, by carefully selecting a compatible paper size, you can enhance the overall look and impact of your printed card with vibrant colors that extend seamlessly across its edges.
Designing with bleeds in mind
Designing with bleeds in mind is a crucial aspect of creating professional-looking printed materials. Bleeds ensure that there are no white borders or unwanted edges on your final product, giving it a polished and seamless appearance. When designing with bleeds, always extend your background color or image past the edge of the document size to avoid any potential white spaces.
Moreover, working with bleeds allows for more creative freedom in your designs. By utilizing bleed areas effectively, you can experiment with unique layouts and visual elements that extend beyond traditional margins. This approach not only enhances the overall aesthetic appeal of your design but also gives it a modern and dynamic look that captures attention instantly. By incorporating bleeds thoughtfully into your design process, you can elevate the impact of your printed cards and make them stand out from the crowd.

Setting up your document for printing
Setting up your document for printing is a crucial step in ensuring your colors extend all the way to the edge of the paper. One important aspect of this process is setting up bleed, which allows printers to trim the paper without leaving any unwanted white edges. In your document settings, make sure to include an extra 1/8 inch (or 3mm) bleed area around the perimeter of your design.
Additionally, always use CMYK color mode when designing for print as it accurately simulates how colors will appear on the final printed piece. Avoid using RGB color mode as it’s intended for digital screens and may result in inaccurate color representation on printouts. By following these simple steps and settings, you can ensure that your printed cards showcase vibrant colors all the way to the edge, creating a professional and polished finish that will leave a lasting impression.
Printing options and considerations
When it comes to printing cards with colors all the way to the edge, there are several options and considerations to keep in mind. One important factor is the type of printing process you choose. Digital printing offers flexibility and cost-effectiveness for smaller print runs, while offset printing provides high quality for larger quantities. Another consideration is bleed: extending your design beyond the edges of the final card size ensures a seamless print with no white borders.
Moreover, paper choice plays a significant role in achieving vibrant colors and a professional finish. Opt for coated papers for sharper images and brighter colors, or textured papers for a more unique look and feel. Additionally, don’t overlook the importance of color accuracy – ensure your printer uses calibrated equipment and work closely with them to achieve the desired results. By carefully considering these options and factors, you can create stunning cards with colors that pop all the way to the edge.

Troubleshooting common issues
Troubleshooting common issues when printing with colors to the edge of the paper can be a challenging task. One common problem is color inconsistency, where certain parts of the printed design appear faded or discolored. This issue often stems from incorrect printer settings or low-quality ink cartridges. To address this, ensure your printer is calibrated properly and use high-quality ink to achieve vibrant and consistent colors.
Another frequent issue is print alignment, especially when trying to print borderless designs. Misalignment can result in white borders, cutting off crucial parts of your design. To troubleshoot this problem, adjust the margins in your printing settings and make sure you are using the correct paper size for borderless printing. Additionally, always preview your design before printing to spot any potential alignment issues early on and make necessary adjustments for a flawless final product.
Conclusion: Achieving professional-looking full bleed prints
In conclusion, achieving professional-looking full bleed prints is not just about having the right equipment and printing settings; it also requires attention to detail and precision. Ensuring that your design extends all the way to the edge of the paper without any white borders can make a significant impact on how professional and polished your final product appears. Taking the time to properly set up your files, choose high-quality paper stock, and pay attention to color consistency will all contribute to achieving full bleed prints that stand out.
Remember that trial and error is part of the process when it comes to achieving perfect full bleed prints. Don’t be afraid to experiment with different settings, test out various paper types, and seek feedback from others in the industry for valuable insights. By continually refining your printing process and paying close attention to details like margins, color profiles, and image resolution, you can elevate your print projects to a professional level that impresses clients and colleagues alike. In the end, mastering full bleed printing is a journey that requires patience, persistence, and a commitment to excellence in every aspect of your design work.


