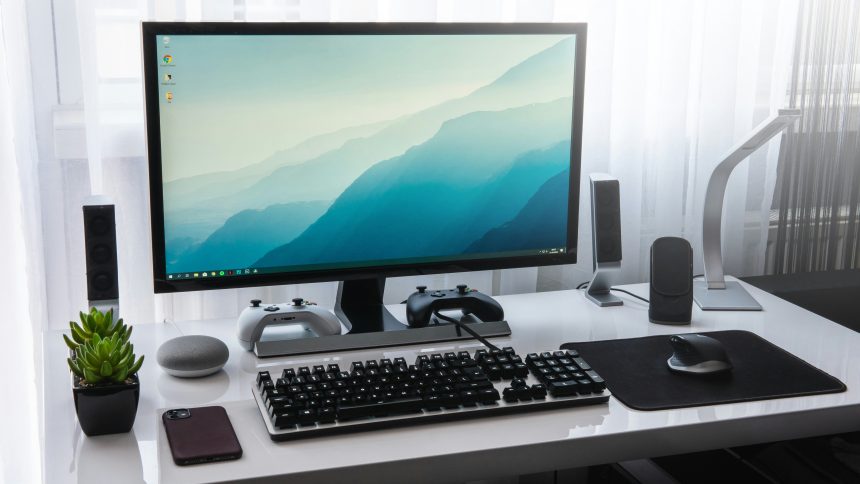
Thinking about building your first home lab? Awesome choice! Whether you’re a tech hobbyist, a student, or a curious explorer, having your own little tech kingdom is both fun and super useful. Let’s break it down and make it simple.
What is a Home Lab?
It’s your personal digital sandbox. You can use it to:
- Learn new IT skills
- Test out software or operating systems
- Host websites or game servers
- Create your very own cloud
Think of it like your secret gadget cave—but in miniature form.
Step 1: Why Do You Want a Home Lab?
This question matters. You don’t need a data center in your basement (yet 😄). Ask yourself:
- Do I want to learn networking?
- Am I interested in virtualization?
- Do I want to run servers like Pi-Hole or Plex?
Your answer will help you choose the right gear.
Step 2: Choose Your Hardware
Let’s dig into the fun part—stuff!
1. A Computer or Mini-PC
You need a machine to start with. Some great options:
- Old Laptop/Desktop: Recycle what you already have.
- Mini-PC: Think Intel NUC, Dell OptiPlex, etc.
- Raspberry Pi: Tiny, mighty, and cheap option for light projects.
[ai-img]raspberry pi, home server, mini pc[/ai-img]
These don’t have to be powerful. Even an old dual-core PC can be magic.
2. Memory (RAM)
More RAM = More Fun! At a minimum, try to get 8GB. If you want to run virtual machines, 16GB or more is better.
3. Storage
- SSD: Fast and reliable
- HDD: More space, slower
A 256GB SSD is a great starting point. Add extra drives as needed.
4. Network Connection
Wired Ethernet is king in home labs. It’s faster, more stable. But Wi-Fi can work for lightweight stuff.
5. Power Supply (and Noise!)
Don’t underestimate this. A noisy and power-hungry server can drive you crazy. Look for gear that’s quiet and energy-efficient.
Step 3: Optional Gear (But Super Cool)
- Network Switch: Connect more devices!
- UPS (battery backup): Keep things running if there’s a power outage.
- Rack or Shelves: Organize like a pro.
Step 4: Setting Up
Once you’ve got your gear, it’s time to set it up!
- Install an operating system (Linux, Windows, etc.)
- Set up remote access (SSH or remote desktop)
- Install tools like Proxmox, Docker, or VMware
[ai-img]home lab setup, computer wires, server gear[/ai-img]
Don’t worry if everything feels confusing at first. That’s part of the fun! Learning by “breaking and fixing” is what home labs are all about.
Tips for Beginners
- Start Small: Don’t over-buy gear. You can always upgrade later.
- Document: Write down what you do. It helps more than you think.
- Join a Community: Reddit’s r/homelab is a great place to learn.
Expanding Your Lab
Finished your first setup? Awesome! Here’s what’s next:
- Experiment with virtualization
- Create a media server (Plex or Jellyfin!)
- Host your own websites or apps
- Play with networking tools like pfSense
[ai-img]networking gear, router, ethernet cables[/ai-img]
Final Thoughts
Building a home lab is like leveling up your tech skills. It’s hands-on, customizable, and rewarding. And the best part? It doesn’t need to be expensive or complicated.
So dig through your closet, grab that dusty old PC, and let the experiments begin!


